Disclaimer: As an Amazon affiliate, I may earn a small percentage from qualifying purchases. This is at no extra cost to you. Learn more here.
Do you enjoy handmade cocktails? Or know someone who does? Make a muddler for your bar or as a gift for someone else.
| Project: | Cocktail Muddler |
| Skill level: | Beginner |
| Project time: | 30-60 minutes |
Methodology & Approach
Conception & Design
This muddler came to be when my wife and I were planning to host a dinner party for friends. The featured drink of the evening was a Sazerac. The recipe called for a muddler, which we did not have. My wife asked if I could make one. I had her show me a few pictures of designs she liked. I also asked about what she’d be muddling in and how she’d be using it. This gave me an idea of length and diameter. Then, I like to do a little more research before starting a project. I popped on Amazon for some examples and pricing. I figured I could turn one that was the same or better out of a pepper mill blank I had in my shop. Then, I made this one in time for the get-together. This project took me maybe 30 minutes, 60 minutes tops.
Specifications
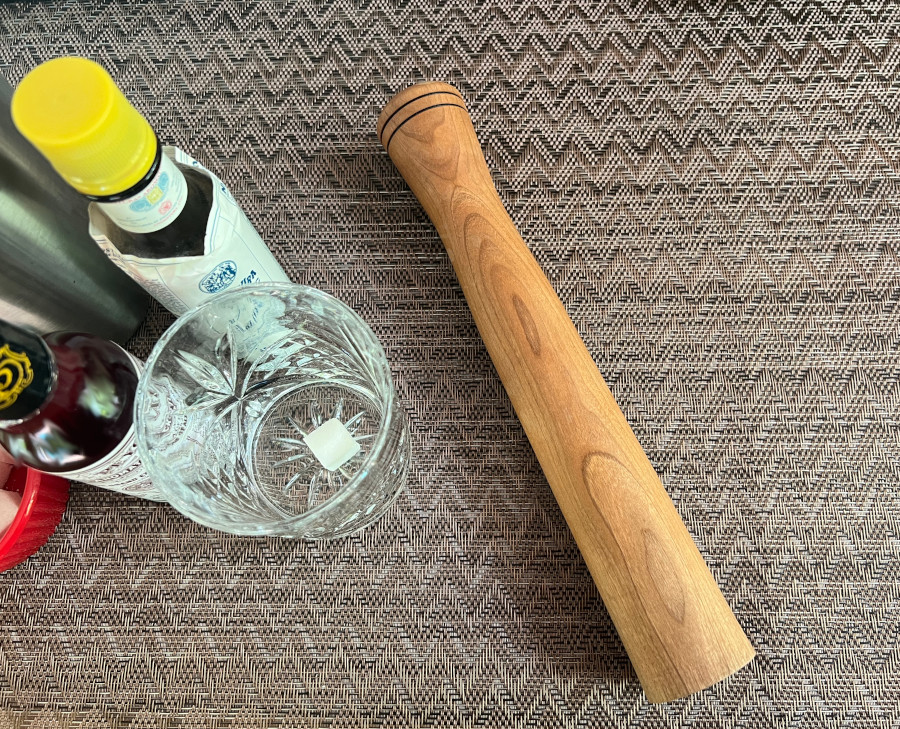
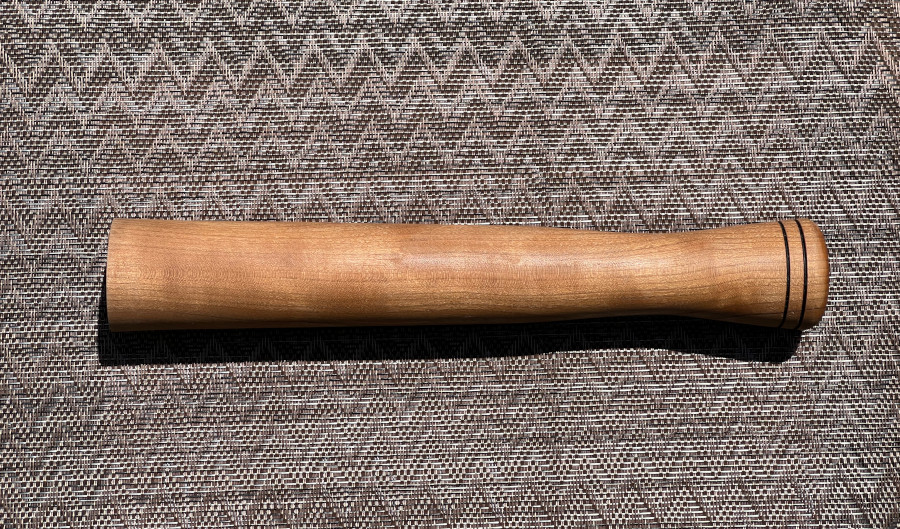
I free-formed this muddler on my JET 1221VS wood lathe. I used a cherry wood pepper mill blank I already had but I considered other pieces lying around my shop. It came down to a matter of size and I knew I wanted to make it out of cherry. A muddler crushes ingredients like sugar, herbs, and fruit, so any size or shape of wood you have around your shop will work. It can be smaller than this one, too. But I don’t advise going any bigger.
The muddler seen here is about 10-1/2″ long and the flat bottom is about 1-3/4” in diameter. It fits nicely in a standard cocktail shaker or short cocktail glass. I opted for a very subtle taper on the end. Eventually, the bottom edges will wear down a bit anyway. This simple design is easy to clean and stands up on its own which is great. We just store it on the counter right next to our cocktail mixer for everyone to see.
Muddler Materials
Assuming you’ve got your lathe, standard set of turning tools and accessories, here’s what else you might need:
- Wood blank – Pepper mill blank or any food-safe scrap wood in your shop. To make a similar size, a blank or scrap of wood that measures around 2″x2″x12″ will do.
- Wire burning kit
- Food-safe finish – I used mineral oil and beeswax.
How to Turn a Muddler
This overview of steps assumes at least a basic understanding of turning a project on the lathe and lathe safety:
- Cut to length – Measure your chosen piece of wood and cut to length. Add about ½” on either side of your measurement.
- Find & mark the center – If your piece isn’t squared off, grab your center finder tool and locate the center on each end.
- Securely mount to lathe
- Rough into a cylinder – Once the piece is securely mounted, you are ready to start the lathe and rough the piece into a cylinder shape with a Roughing Gouge. I actually just use my large square tungsten bit.
- Start shaping – I usually free-hand the shaping. As a guide, you can mark off lengths and sections for design with a pencil. Stop the lathe and measure the diameters, until you have what you’re looking for.
- Wire burning – Add this detail to the handle before you’re ready to sand.
- Ends – Remember to keep your parting ends as close as comfortable. This is good to check in on before the sanding stage. Use your parting tool or a diamond tip, or whichever tool works for you. Because it’s a long piece, you’ll leave some meat on and saw off the remainder. I try to leave just enough that it won’t fly off while spinning and shouldn’t take more than 30 seconds of final sanding.
- Sand – I don’t like sanding and the lathe helps make quick work of this step for the most part.
- Parting – Now that your piece is almost done, you are ready to part it off. Turn the lathe off and use your parting tool of choice. I like to use my Japanese pull saw to cut the piece off the lathe.
Finishing
Now that your piece is off the lathe, all that’s left is final sanding and polishing. Sand down the nubs on either end. Then, using a food-safe mineral oil, polish the piece. Finish with a coat of beeswax.
Since this will be used to mash food, you want something food-safe that won’t flake off into your drink. The mineral oil is penetrating, and the beeswax is a light protectant for water. Plus these two finishes are easy to reapply every once in a while if it looks like it needs it.
Always think of the project’s purpose and use. A bad finish choice and application can ruin your project and make it a pain to fix.
Finally, if you’re looking to take your new muddler for a spin, here’s that Sazerac recipe I mentioned earlier.