Disclaimer: As an Amazon affiliate, I may earn a small percentage from qualifying purchases. This is at no extra cost to you. Learn more here.
When I first got into woodturning, one of the things that tripped me up more than anything else was sharpening my tools. I figured, you just grind the edge a bit every once in a while and you’re good to go, right?
Wrong.
First I discovered that gouges are especially tricky to sharpen and keep sharp. Then I learned that sharpness is more nuanced. But like most things in the workshop, you learn by doing (and occasionally messing things up).
What Sharp Should Look Like
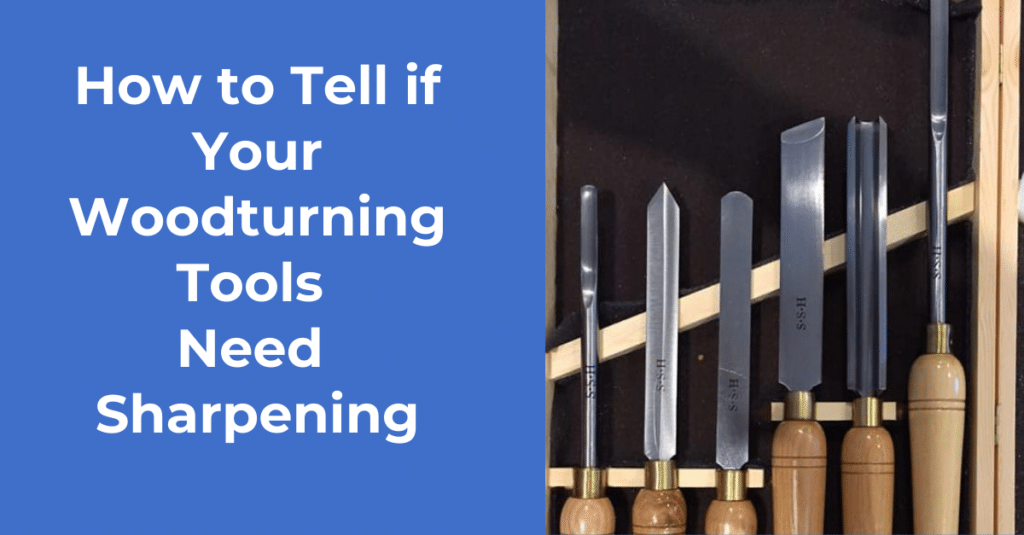
When you buy a tool brand new, take a good look at the tip. That clean, crisp edge—that’s your gold standard. That’s what you’re aiming for when you go to re-sharpen. You don’t want to see burrs, curls, rounding, or any little divots. The planes where the edge meets should be smooth and clean.
Signs your woodturning tools need a sharpening touch-up:
- it looks like something’s chipped off the edge
- the edge is more rounded than sharp
- it appears to have been used to dig up rocks instead of to turn wood
The Angle Matters—Sort Of
Yes, sharpening at the right angle is important. But here’s the catch: “Right” can be subjective. Think of it like coffee—how hot is hot enough? Some folks take the temperature. Others look for steam and hope for the best. The same goes for tools: one turner’s “sharp enough” might be another’s “still too dull.”
That said, for traditional high-speed steel (HSS) tools like bowl or spindle gouges, keeping the right grind angle helps with consistency. If you’re not sure where to start, our How to Sharpen Lathe Tools guide has some helpful definitions and benchmarks.
How Do You Know It’s Sharp?
Honestly? For me, it’s a combo of how it looks and how it feels. If the tip looks like it did when I first unwrapped it—clean lines, no dull spots—I’m halfway there. The other half is by feel: when the tool glides through the wood and gives me a nice, clean cut without me having to force it, I know I’m in a good place.
And sometimes, especially when I was first starting out, I didn’t realize how dull a tool was until I used a sharp one. It’s kind of like kitchen knives—a home cook often doesn’t know their knife is dull until they get their hands on a properly sharpened one.
Why I Mostly Use Replaceable Carbide Tips
I’ll be honest—I mostly use woodturning tools with replaceable tungsten carbide tips these days. As a hobbyist, it just takes the guesswork (and the hassle) out of sharpening. They don’t dull as quickly as HSS and if I’m not getting the cut I want, I rotate the tip to a fresh side. Once all sides are used up, I swap the tip for a new one.
They’re especially handy for roughing in a piece where you’re not going for a perfect finish, just trying to get the shape down. It means I can stay focused on turning instead of heading back and forth to the grinder every 10 minutes.
For more on sharp carbide tips, check out our complete tutorial on Sharpening Carbide Lathe Tools. If you’re looking for a set of carbide turning tools, follow that link to see our recommendations.
Woodturning Tool Sharpening Final Thoughts
Whether you’re grinding your own HSS edges or relying on carbide, the end goal is the same: clean, easy cuts. Sharpness doesn’t always come down to a micrometer-perfect edge—it’s about whether your tool is doing what you want it to do, without a fight.
So if your cuts are starting to look ragged, or you’re muscling through wood that used to slice like butter, it might be time to check your edge. Get it back to looking like new—and turning will feel like new again too.
Also, be sure to check out our Best Wood Lathe Tool Sharpening System post. If you’re looking for fresh, new, sharp tools, here is our best woodturning tools guide and step-by-step tutorial on lathe cutting tool setup.
Happy sharpening and turning!
Want more tips like this? Subscribe to our free newsletter below and never miss a post!